OUR PREMIER PROCESS

PREMIER machinery, knowledge, and know-how
Manufacturing HDD drill pipe is a critical undertaking. At Premier Drill Products, we deploy advanced machinery, extensive knowledge, and meticulous processes to meet the exacting standards of an industry that demands precision. Our commitment to detail and quality control mirrors the standards we uphold for our oilfield drill pipe.
Explore the intricacies of our manufacturing process outlined below.
Forging
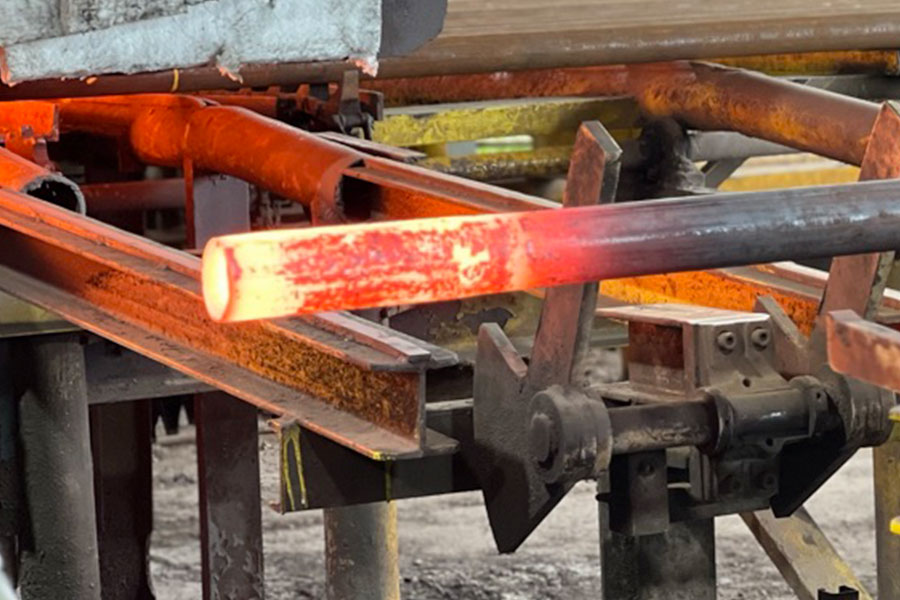
We commence the process with a unique carbon alloy tube designed for specialized chemistry. The journey of the environmentally-conscious tube begins as it passes through a slot furnace, where it undergoes heating to an impressive 2,300 degrees. Once reaching the necessary temperature, the tube’s end is meticulously secured within a precision machined die. The forge’s center punch then presses the heated steel into the die recess, creating the forged upset. After the upset’s completion, a comprehensive visual inspection is conducted internally and externally to ensure quality and precision.
Heat Treating
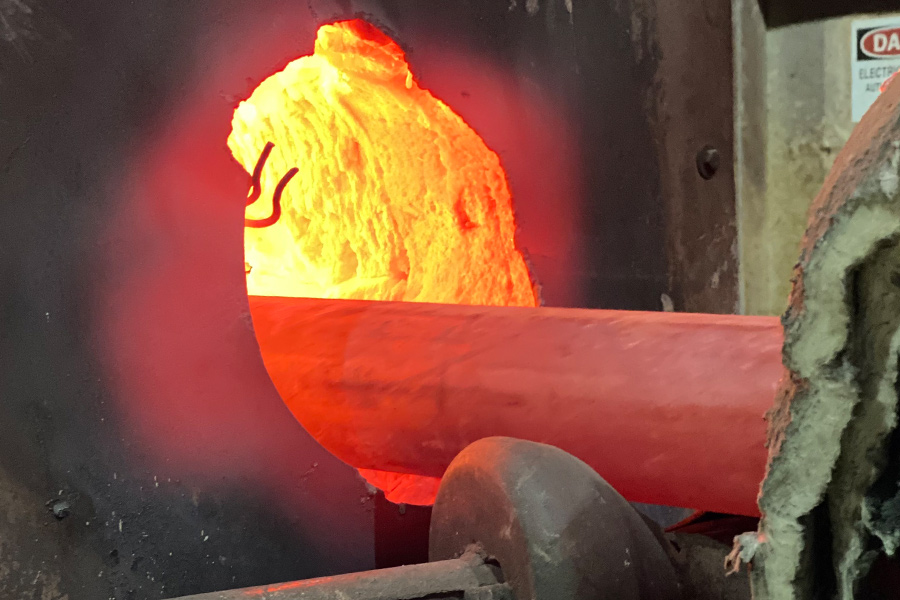
Following the forging process, the drill rods undergo induction heating within coils and are exposed to a gas furnace to achieve Austenitization at 1650 degrees. Once heated, the rods are rapidly quenched to establish the desired final microstructure. They are then transferred to a tempering furnace and subjected to customized heating according to customer requirements. Afterward, our cross-roll and gag straightener ensure alignment is restored to the rods before further processing.
EMI & SEA Inspection
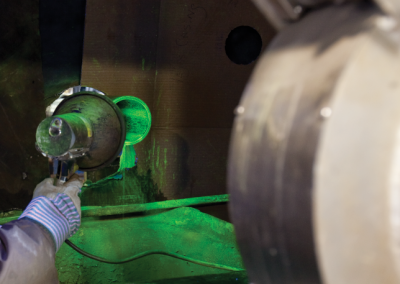
Inspection plays a vital role once the material emerges from the straightener. It undergoes electromagnetic inspection (EMI) to meticulously verify longitudinal and transverse dimensions, wall thickness, and component grade. Subsequently, special end area inspection (SEA) is conducted using the wet magnetic particle technique to examine pipe ends that might have been missed during the initial EMI inspection.
THREADING
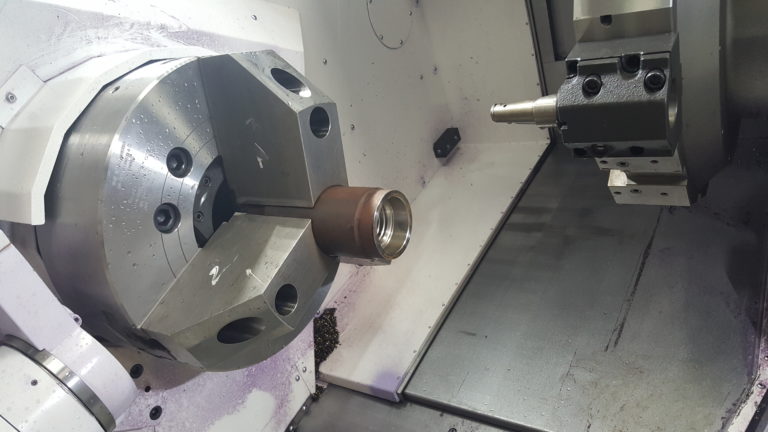
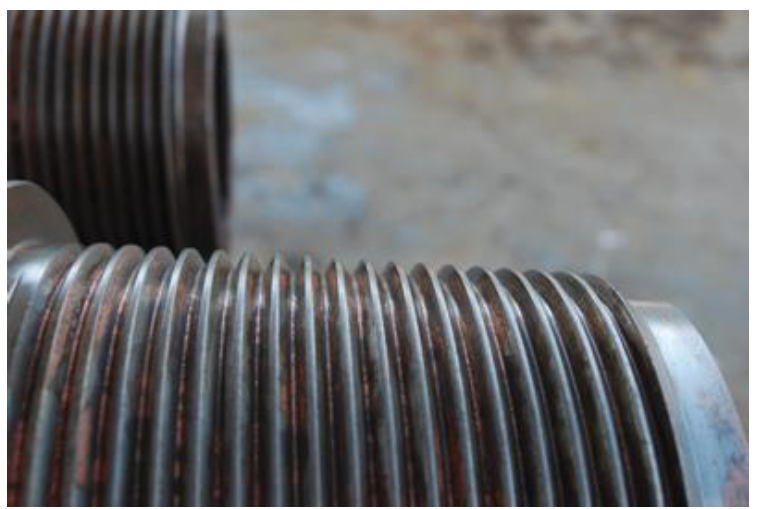
During the turn and face operation, tool joints are threaded simultaneously. Following completion, each tool joint undergoes inspection utilizing the JSS measuring system from the gauge maker. In addition to standard measurements for qualifying a tool joint as “prime,” the JSS system can precisely measure the tool joint’s pitch diameter. This critical measurement, unattainable with the traditional ring-and-plug gauge, indicates how the threads engage with each other as the pin and box threads are torqued together.
Inertia Welding
Inertia welding is a type of rotary frictional welding . A method where forgeable metals are joined without the need for external heat or flux. This solid-state joining process is highly versatile and produces strong and consistent welds. The bond strength achieved is often equal to or greater than the strength of the parent materials.
Post-Weld Tempering
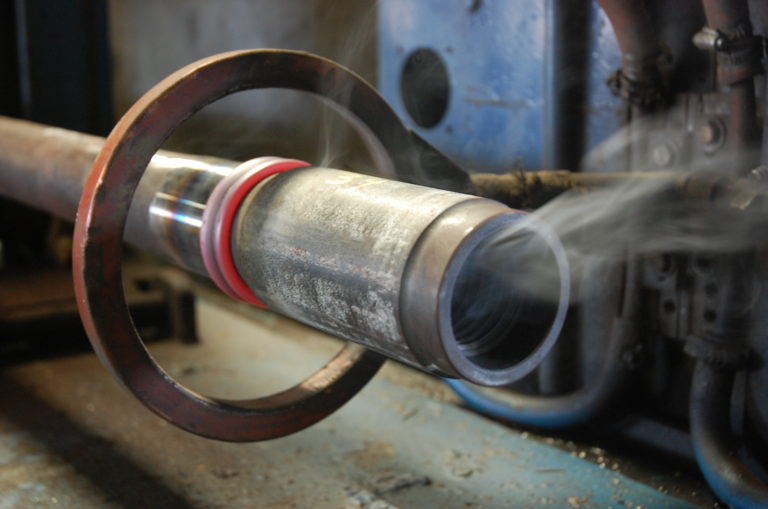
Post-weld heat treatment entails heating the weld to alleviate welding stresses. The cycle times are carefully calibrated to attain the appropriate hardness and strength in the welded area.
Final Inspection
After welding, the pipe is inspected by the latest API 5D specifications. This comprehensive inspection process encompasses quenching and tempering procedures, wet magnetic particle testing to assess the weld’s outer and inner diameters, and ultrasonic testing (UT). Moreover, alignment checks ensure compliance with angular and parallel requirements.

Let's Connnect!
If you’re ready to experience better performance, less downtime, and more efficient drilling and completion operations, we're ready to start the conversation. Contact us today!

